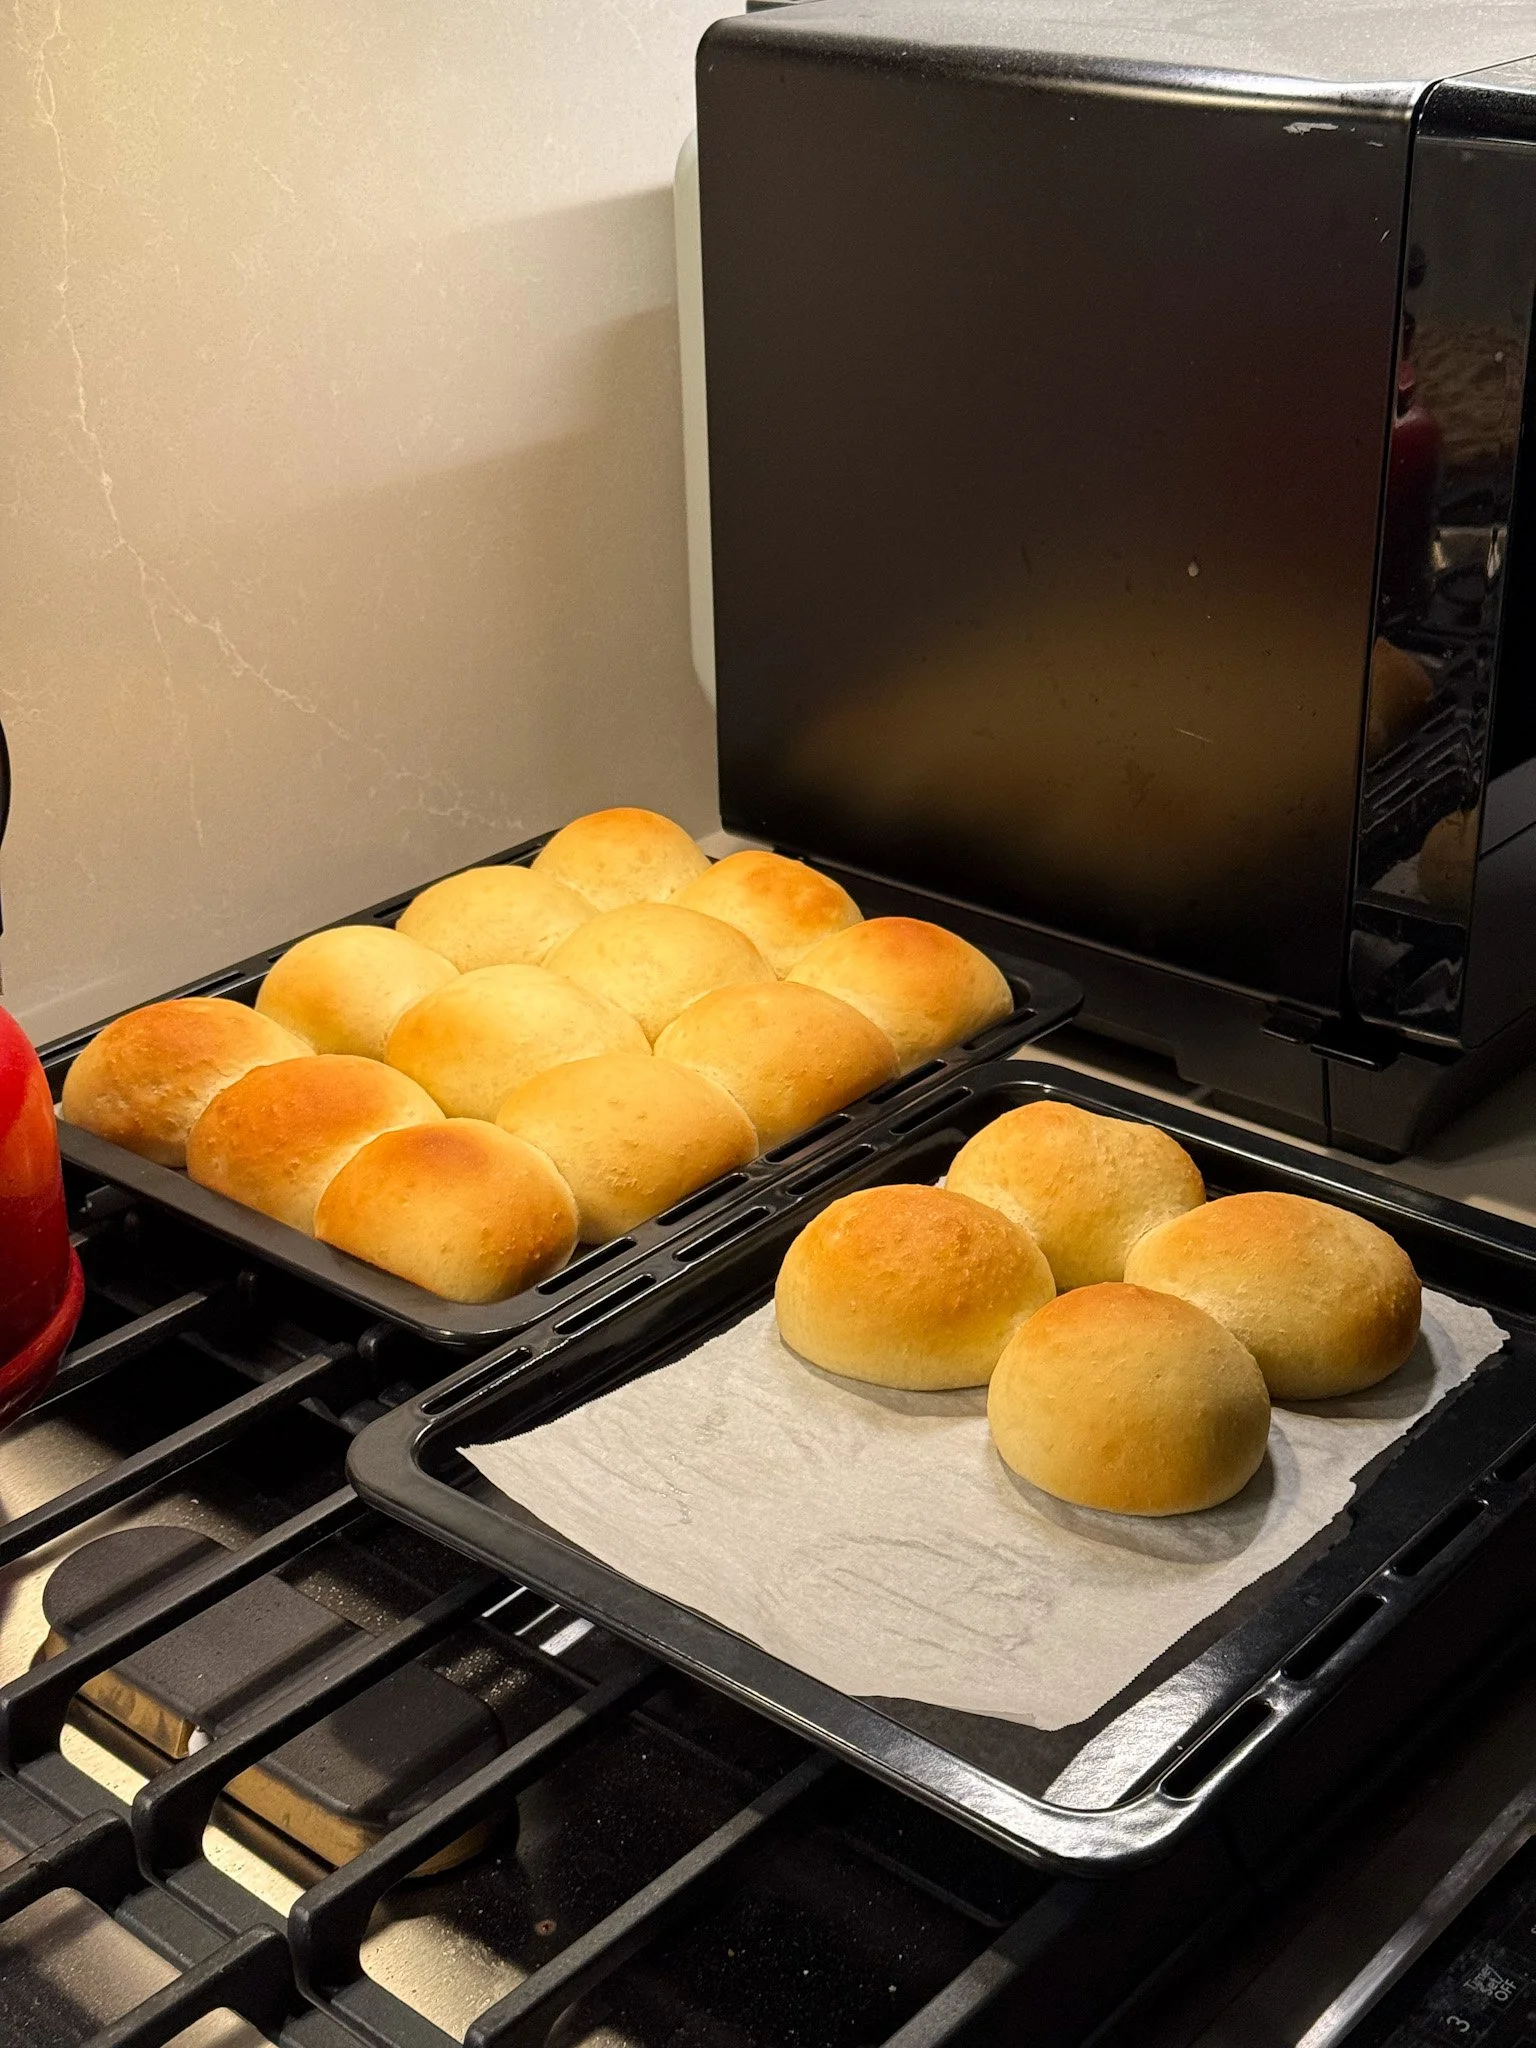
This is originally mentioned in THIS Instagram Post.
This recipe has been edited from Finding Zest!
Ingredients
INITIAL BLOOMING:
10g or 2.5 tsp active dry rest. I HIGHLY RECOMMEND THIS ONE. You can likely get it cheaper and fresher from your local grocery store, but this is the one that NEVER fails me.
1¼ cup (270g) warm water + 3 tbsp (24g) milk powder OR 1 cup warm milk + ¼ cup warm water
2 tbsp (24g) butter
1 tsp (3g) cane sugar
FOR THE DOUGH:
520g all-purpose flour
¼ cup (50g) cane sugar
1 large pinch (3g) salt
1 egg (~50g)
Directions
NOTE: If you want to live life on the edge, you can dump all of these ingredients in at once and omit steps 2-3.
Measure out all of your ingredients from the “Initial Blooming” section into your stand mixer or mixing bowl.
If your are using fresh and reliable yeast, you do not have to bloom your yeast. But if you want to confirm the yeast is fresh and alive, give your ingredients a mix and let it sit on the counter for 5 minutes. There should be a bubbling that comes from the yeast to suggest it is alive.
Add your all-purpose flour, cane sugar, salt, and egg and let it mix until thoroughly combined.
Knead or mix with your hook attachment for another 3 minutes until the dough fully pulls away from the side. Here are some other indicators that this dough is set up for success:
It is tacky but NOT sticking to your fingers. If it is sticking and pulling away onto your fingers, add 1 tbsp of flour at a time until it is tacky but no longer sticking.
It is hanging onto the hook attachment and NOT “free-flowing” back into the bowl when the attachment is angled up. If it is flowing back into the bowl, add 1 tbsp of flour at a time until it is is able to hold its shape on the hook attachment without spilling back. It does NOT need to be turgid.
It should cling onto the hook attachment instead of the bowl.
Once your dough is ready for the first proof, either transfer into a new oiled bowl, or simply lift up the hook attachment and oil the existing stand mixer bowl.
Oil the top of the dough as well, cover bowl, and let it rest until doubled in size. This can be on your countertop or in your oven with the light on.
Once your dough is ready after 1 hour of proofing, prepare your work surface. Divide up half of the dough onto your working surface and separate into ~50g dough balls. This will form 18 rolls. If you want to do LARGE rolls, you can aim for 12 monstrosity-sized rolls. To each their own.
To form the rolls: fold corners into the center, pinch together a few times, turn pinched side onto the work surface so the smooth surface is on the top. Roll into a sphere to the best of your ability. When you’re ready to put it onto your baking sheet, make sure the pinched side is face down and the smoothest side is faced up.
Repeat with each dough ball. I use a quarter sheet tray on my air fryer and leave ½‘’’ space between each ball so they can proof and touch each other. If you like individual rolls, space them out to 1’’ or 1 ½‘‘ space.
Put back into your oven or air fryer and let proof for another 45-60 minutes, or until double in size. When in doubt, go for 60 minutes.
Take out your rolls after 45-60 minutes and pre-heat the oven to 350F.
Bake for 12 minutes. If it’s not browned on the top to your liking, bake for 13-14 total minutes.
Serve immediately!
FAQ:
Q: Where is the FAQ section?
A: ETA November 22, 2026!
Q: What [tool] did you use?
Everything I used in this video is here (Shop My).