Tuna Onigiri with Chili Crisp
This is originally mentioned in THIS Instagram Post.
Ingredients
Yield: 4 medium onigiri
2 cup / 400 g cooked rice, warm, short- or medium- grain
1 can / 3.2 oz tuna of choice, drained. I used Albacore Tuna in Spicy Olive Oil. (available cheaper at a grocery store near you)
½ tbsp / 11 g chili crisp of choice. I prefer Lao Gan Ma
1½ tbsp / 20 g mayonnaise. I prefer Kewpie Mayo
1 tsp / 5g soy sauce
4 onigiri wrappers OR 4 strips of nori
optional: salt to taste
Furikake of choice, for coating
Food-safe plastic gloves for easier shaping
Directions
All of these ingredients are flexible! Just adjust them to your taste, preferred spice level, and saltiness. Because everything is cooked and ready to eat, taste the filling and adjust as needed.
Let the cooked rice cool until it is warm and comfortable to handle.
In a small bowl, mix the tuna, chili crisp, mayonnaise, and soy sauce. Add additional salt if desired.
Put on your gloves or set out a small bowl of water to wet your hands. This will help prevent the rice from sticking to your hands.
Place a palm-sized mound of rice in one hand. This will be about 1/3 to ½ cup of rice. This should be loose, NOT packed.
Make a small divot in the middle with your knuckle.
Spoon about 1 heaping teaspoon of filling into the divot.
Add another small handful of rice over the filling, enclosing it completely.
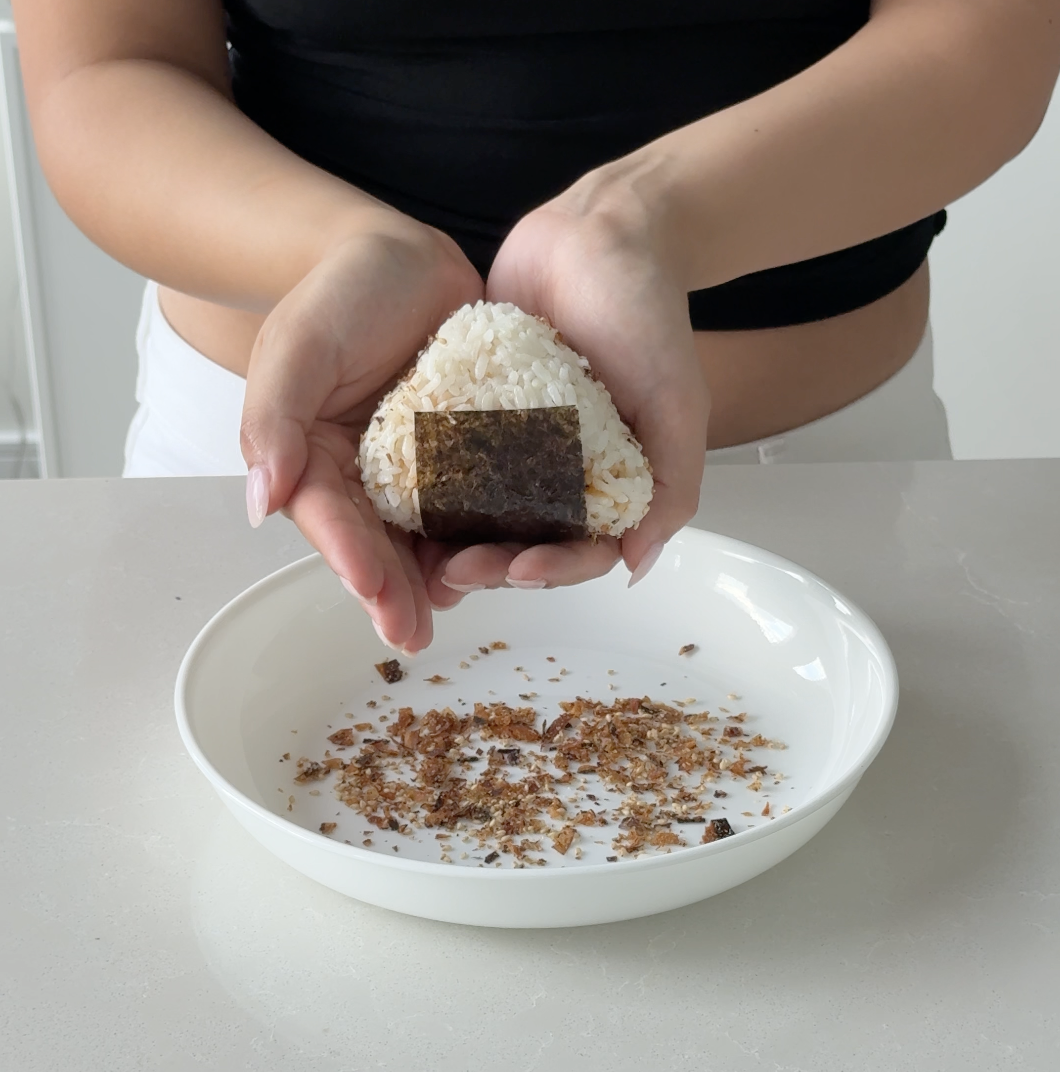
Using your hands or a mold, press and rotate the rice into a triangle shape. Use just enough pressure for it to hold together.
Do not pack it too densely. It should hold its shape but still feel tender and lightly springy.
If using, coat the outside with furikake.
For latter, use an onigiri wrapper to keep the nori crisp. Otherwise, wrap a strip of nori around the bottom just before eating for the classic 🍙 look.
Serve warm and enjoy!
FAQ:
Q: What type of rice should I use for onigiri?
A: Japanese short-grain rice is the most authentic and reliable choice because it is naturally sticky enough to hold its shape. Avoid long-grain rice such as jasmine or basmati because it tends to fall apart more easily!
Q: Can I use leftover rice?
A: Yes, but onigiri is easiest to shape with warm and freshly cooked rice! If using refrigerated rice, reheat it with a small splash of water for better moisture and overall stickiness.
Q: Why is my onigiri falling apart?
A: The rice may be too cold, too dry, or not pressed firmly enough. Use warm short-grain rice, avoid overfilling, and gently press and rotate a few times. This should be firm enough to hold, but not so firmly that you make a dense rice brick.
Q: Why is my onigiri so dense?
A: It was likely packed or squeezed too tightly! Start with loose rice in your palm, then use only enough pressure to close the filling inside and hold the final shape.
Q: Do I need an onigiri mold?
A: No! A mold is convenient for uniform triangles, but your hands work perfectly well. Wet your hands or use food-safe gloves, so the warm rice does not stick while you shape it.
Q: How do I keep the nori crisp?
A: Keep the nori separate from the rice until right before eating. Onigiri wrappers are designed to do this, but you can also pack a strip of nori in a small bag or container and wrap it around the onigiri when you are ready to eat.
Q: Can I make these ahead of time?
A: For the best texture, make and eat them the same day! If you need to store them, wrap each onigiri tightly, refrigerated promptly, and keep the nori separate.
If you’d like to make something similar to this ahead of time, I’d recommend yaki onigiri! It’s pan-fried rice triangles brushed with a savory soy glaze. It’s also perfect for leftover rice. :)
Q: What [tool] did you use?
Everything I used in this video is here (Shop My)